
 Latest releases of PIN+ boast an impressive 300 passkey storage capacity, the largest currently available on the market.

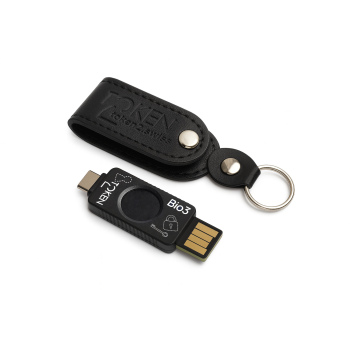
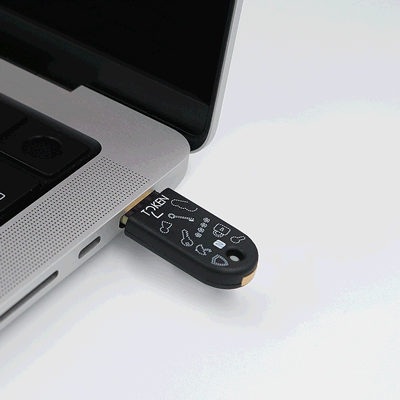
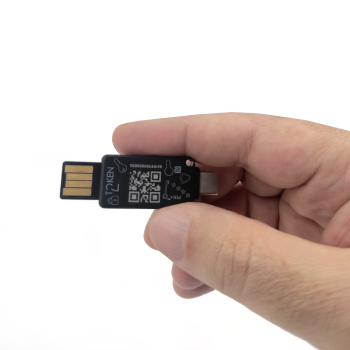
Token2 PIN+Bio3 FIDO2 Security Key with Biometric Authentication
Token2 PIN+Bio3 FIDO2 Security Key with Biometric Authentication
Order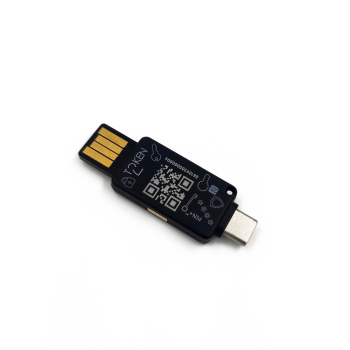
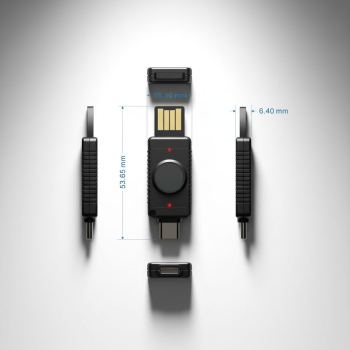
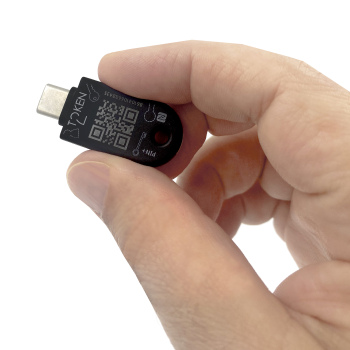
PIN+ Dual Release3.3 - FIDO2.1 Key with PIV, OpenPGP and OTP and Dual USB Ports
PIN+ Dual Release3.3 - FIDO2.1 Key with PIV, OpenPGP and OTP and Dual USB Ports
Order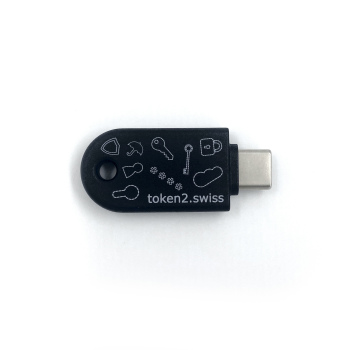
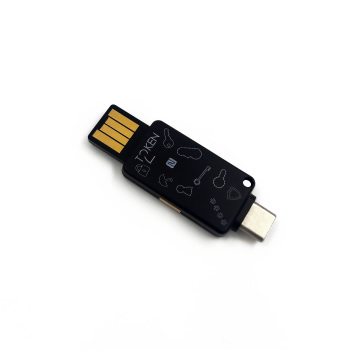
PIN+ Release3.3 TypeC with FIDO2.1, U2F, TOTP, HOTP, PIV and OpenPGP (T2F2-NFC-Slim TypeC)
PIN+ Release3.3 TypeC with FIDO2.1, U2F, TOTP, HOTP, PIV and OpenPGP (T2F2-NFC-Slim TypeC)
Order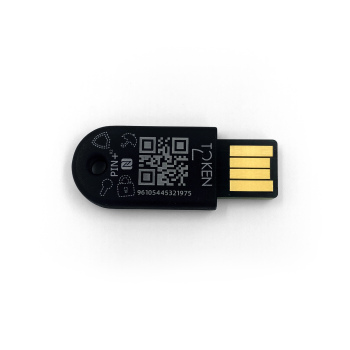
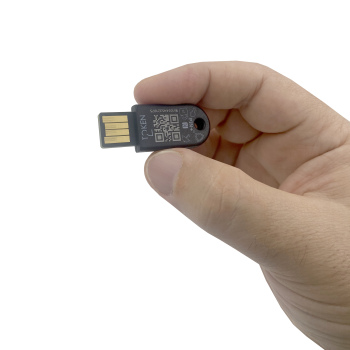
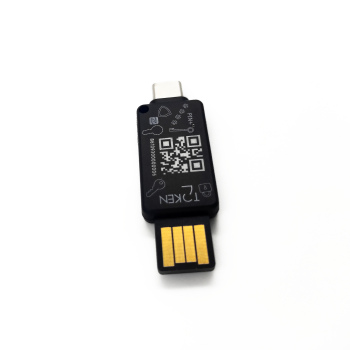
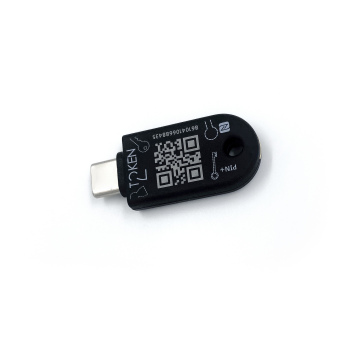
PIN+ Release3.3 USB-A - FIDO2, U2F, PIV and TOTP Security Key with PIN complexity feature (T2F2-NFC-Slim)
PIN+ Release3.3 USB-A - FIDO2, U2F, PIV and TOTP Security Key with PIN complexity feature (T2F2-NFC-Slim)
OrderMemberships & Certifications
read more
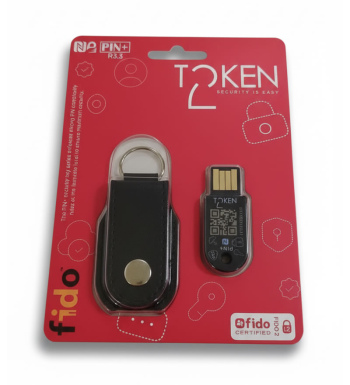
Token2 is proud to be a member of the FIDO® Alliance. Token2 FIDO2 security keys are certified by the FIDO® Alliance Certification program.
more

Token2 is a verified Microsoft-compatible FIDO2 security key vendor. Our keys are fully compatible with the Passwordless experience.
more
Independent Compliance Check of our single profile TOTP tokens against RFC6238 was done by CertX.
more

Our multiprofile OTP token, Molto2, has received a 'Certified Product' badge from a security assessment conducted by SySS GmbH.
more
Integration guides
See allUsing Token2 hardware tokens with Azure Active Directory
Azure AD supports the use of OATH-TOTP SHA-1 tokens of the 30-second or 60-second variety (currently in public preview). We have tested our tokens (they are all OATH-TOTP SHA-1 30-second, 6 digits) with Azure MFA in the cloud and can confirm they are all supported.
Token2 TOTPRadius
Provides the RADIUS RFC-2865 for TOTP RFC-6238 based authentication. With TOTPRadius you can integrate a large variety of third-party products and systems with multi-factor authentication. A number of enterprise products and services like VPNs (including Meraki CVPN and Fortinet VPN), Citrix XenApp/XenDesktop, VMWare View and many others provide support for RADIUS servers to validate second factor of user authentications
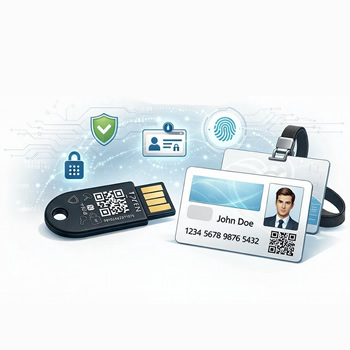
Go passwordless with Token2 FIDO2 Security Keys
FIDO2 security keys are an unphishable standards-based passwordless authentication method that can come in any form factor. Token2 FIDO2 Security keys enable organizations and users to use a USB key sign in to Azure AD without the need of entering a password. TOKEN2 FIDO2 Security keys are listed by Microsoft as Azure AD Passwordless-compatible.
Token2 USB Security keys with UserLock
With specific and customizable user login rules and real-time monitoring, UserLock reduces the risk of external attacks and internal security breaches while helping to address regulatory compliance. UserLock is one of the few solutions existing on the market that allows implementing multi-factor authentication for logging on to Windows computers with Active Directory domain membership or standalone terminal servers.
Subscribe to our mailing list
Want to keep up-to-date with the latest Token2 news, projects and events? Join our mailing list!